
Motivation
Last time I thought that I would be nice to evaluate automated the output of an application started by Eclipse. E.g. to get an error dialog message when an exception is thrown or at least see an log entry in the Error Log View. Then I thought I would be nice to enable the Eclipse User to write directly a script in Eclipse that evaluates the console output directy. We implemented a similar approach in our Eclipse RCP based application at Elektrobit. After a few minutes searching the internet I found the Eclipse project EASE, that is enabling scripting for Eclipse. But I found not that much tutorials for that and that’s why I want to blog about it.
Installation
I tested the installation with a clean Neon (Version 2) Eclipse. The download links for EASE can be found hier http://www.eclipse.org/ease/download/ .
Installation is as usual:
-
Start Eclipse
-
Help → Install New Software…
-
Enter following address in the Work with field:
-
http://download.eclipse.org/ease/update/release (Current release 0.4.0)
-
-
Check all features and click Next and
-
again Next and
-
accept licenses and click Finish and
-
accept warning dialog and
-
restart Eclipse after installation has finished.
Basic usage
There is a special perspective for scripting, to activate it simple click CTRL-3 for Quick Access and type scripting and select select Scripting from the Perspective section.
After the perspective switch your Eclipse should look like this:
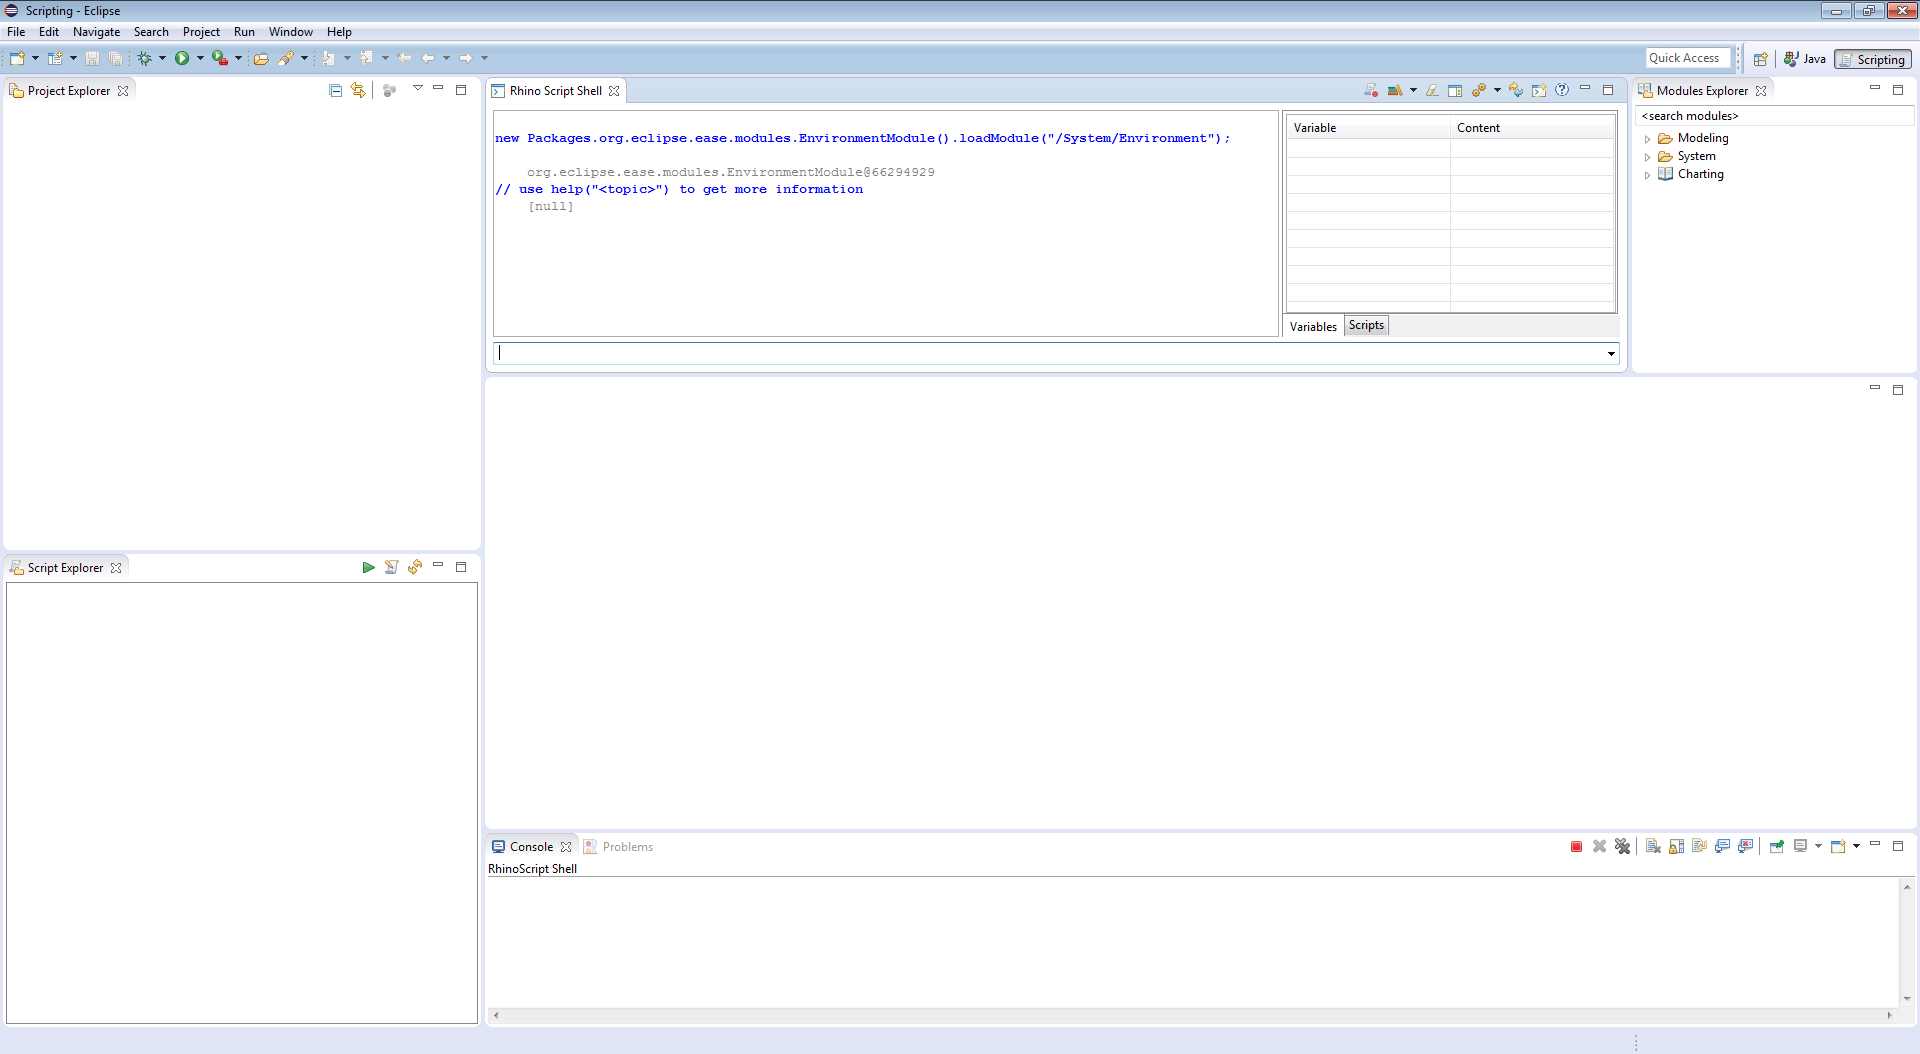
You can see three important views in this perspective, the Script Explorer, Script Shell, and the Module Explorer.
Script Shell
The easiest way to play around with EASE is to use the Script Shell. This is an interpreter for different scripting languages. Default script engine is Rhino (JavaScript). Following picture explains main features of the script shell.

 (1) Enter your script commands here (Script Input Field, e.g. print("Hello World.")).
 (2) Entered commands and results can be found here (Script Console).
 (3) Start here script recording, toggle button again to save your commands to a script file.
 (4) Load modules by mouse.
 (5) Clear Script Console (is not resetting script engine)
 (6) Hide Variable area.
 (7) Switch script engine(e.g from JavaScript to Python)
 (8) Reset script engine.
 (9) Open an additional script engine.
(10) Open help.
Script shell is nice to play, but in the most cases people want to write script to re-use them.
Create a script
Let us start with a HelloWorld script. Writting a script is easy. Just create a General Project in your Project Explorer.
-
File → New → Project…
-
Select Project (Section General) and click Next
-
Enter a name and click Finish
-
Select the new project in your Project Explorer and open context menu
-
New → File
-
Enter file name with extension, e.g. js
-
Open script and enter print("Hello World") to the script file and save file.
Run a script with Run as
-
Select created script and open context-menu
-
Run as… → EASE Script
-
Hello World should be printed at the console.
Run a script with Script Explorer
There is a second possibilty to run scripts. Therefore exists a separate view call Script Explorer. To get a script visible in the script explorer it has to be registered via scripting preferences.
To activate our HelloWorld script for the Script Explorer do following:
-
Window → Preferences
-
Scripting → Script Locations
-
Click Add Workspace… and select your project.
After that your script should be visible in the Script Explorer. The overall picture show look like this now:
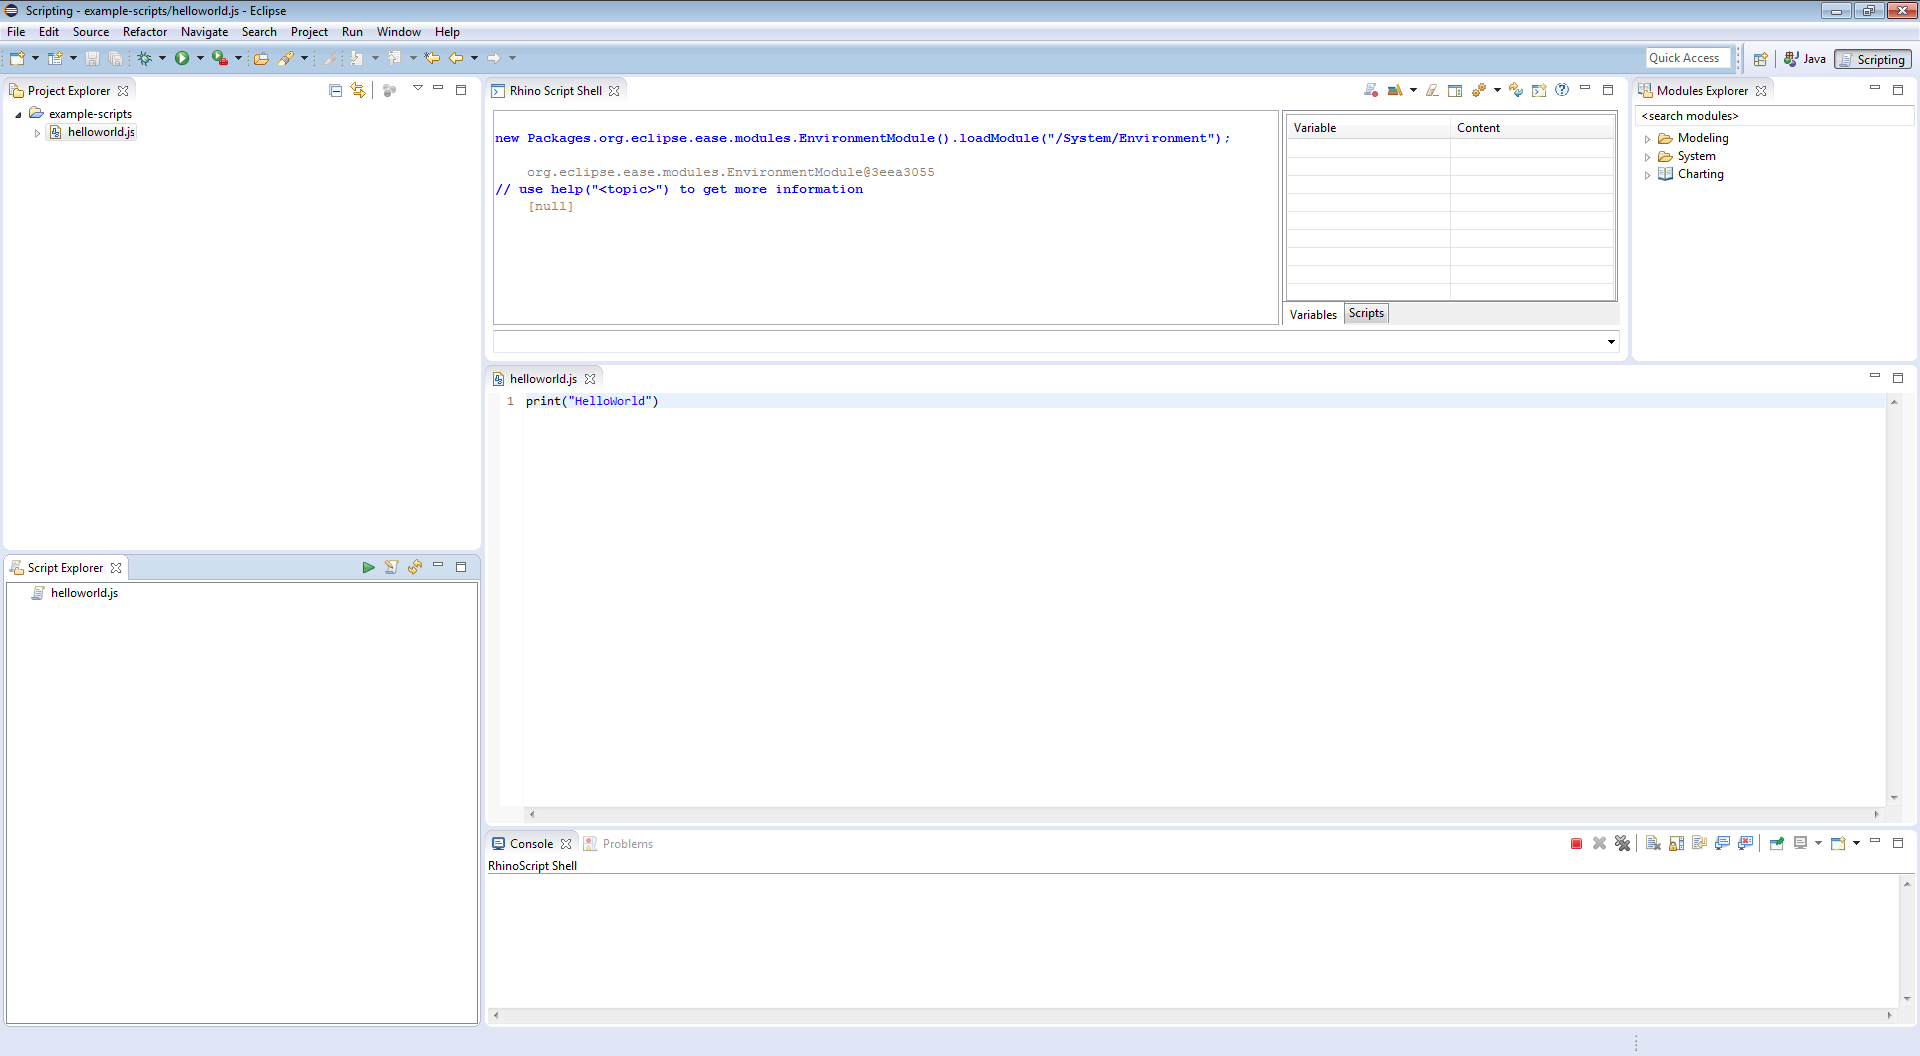
Script Explorer has four different actions:
-
Run a script
-
Edit a script
-
Reload repository and (only via button)
-
Rename a script (only via context-menu)
Run, edit, and rename a script is pretty clear. Reload repository is useful, if a script was added to a registered repository (means here a registered script location) outside of Eclipse. To become all script visible trigger it by this button.
Conlusion
So now all should be able to play around with EASE. Next time I will show how to write more cool scripts.